


A steady drink on the road starts with a secure setup. To learn how to use a car cup warmer, connect it to a compatible 12V vehicle power outlet, place it firmly in the cup holder, and select the mode you want. Choose a mug or container that fits the warmer without wobbling.
It’s easy to focus on the heat setting, but the power connection and cup fit matter too. A poor fit can make the setup awkward, while reaching for controls as you drive can distract you from the road. Set everything up before driving, then choose a mode that suits your drink.
This guide covers the power connection, cup fit, and heating or cooling settings, with practical tips for a stable, simple setup. You’ll also learn what to consider when choosing a mug and how to use the controls without adding distractions while driving. A few small choices can make a car cup warmer a more convenient part of your everyday routine.
Key Takeaways
- Connect the warmer to a compatible 12V vehicle outlet and secure it in the cup holder before setting off.
- Choose a mug with a stable base that fits comfortably, so it sits securely in the warmer.
- Pick the heat or cooling mode that suits your drink, and adjust the controls while parked.
- Learn what to consider when using a 2-in-1 warmer and cooler as part of your driving routine.
How to use car cup warmer
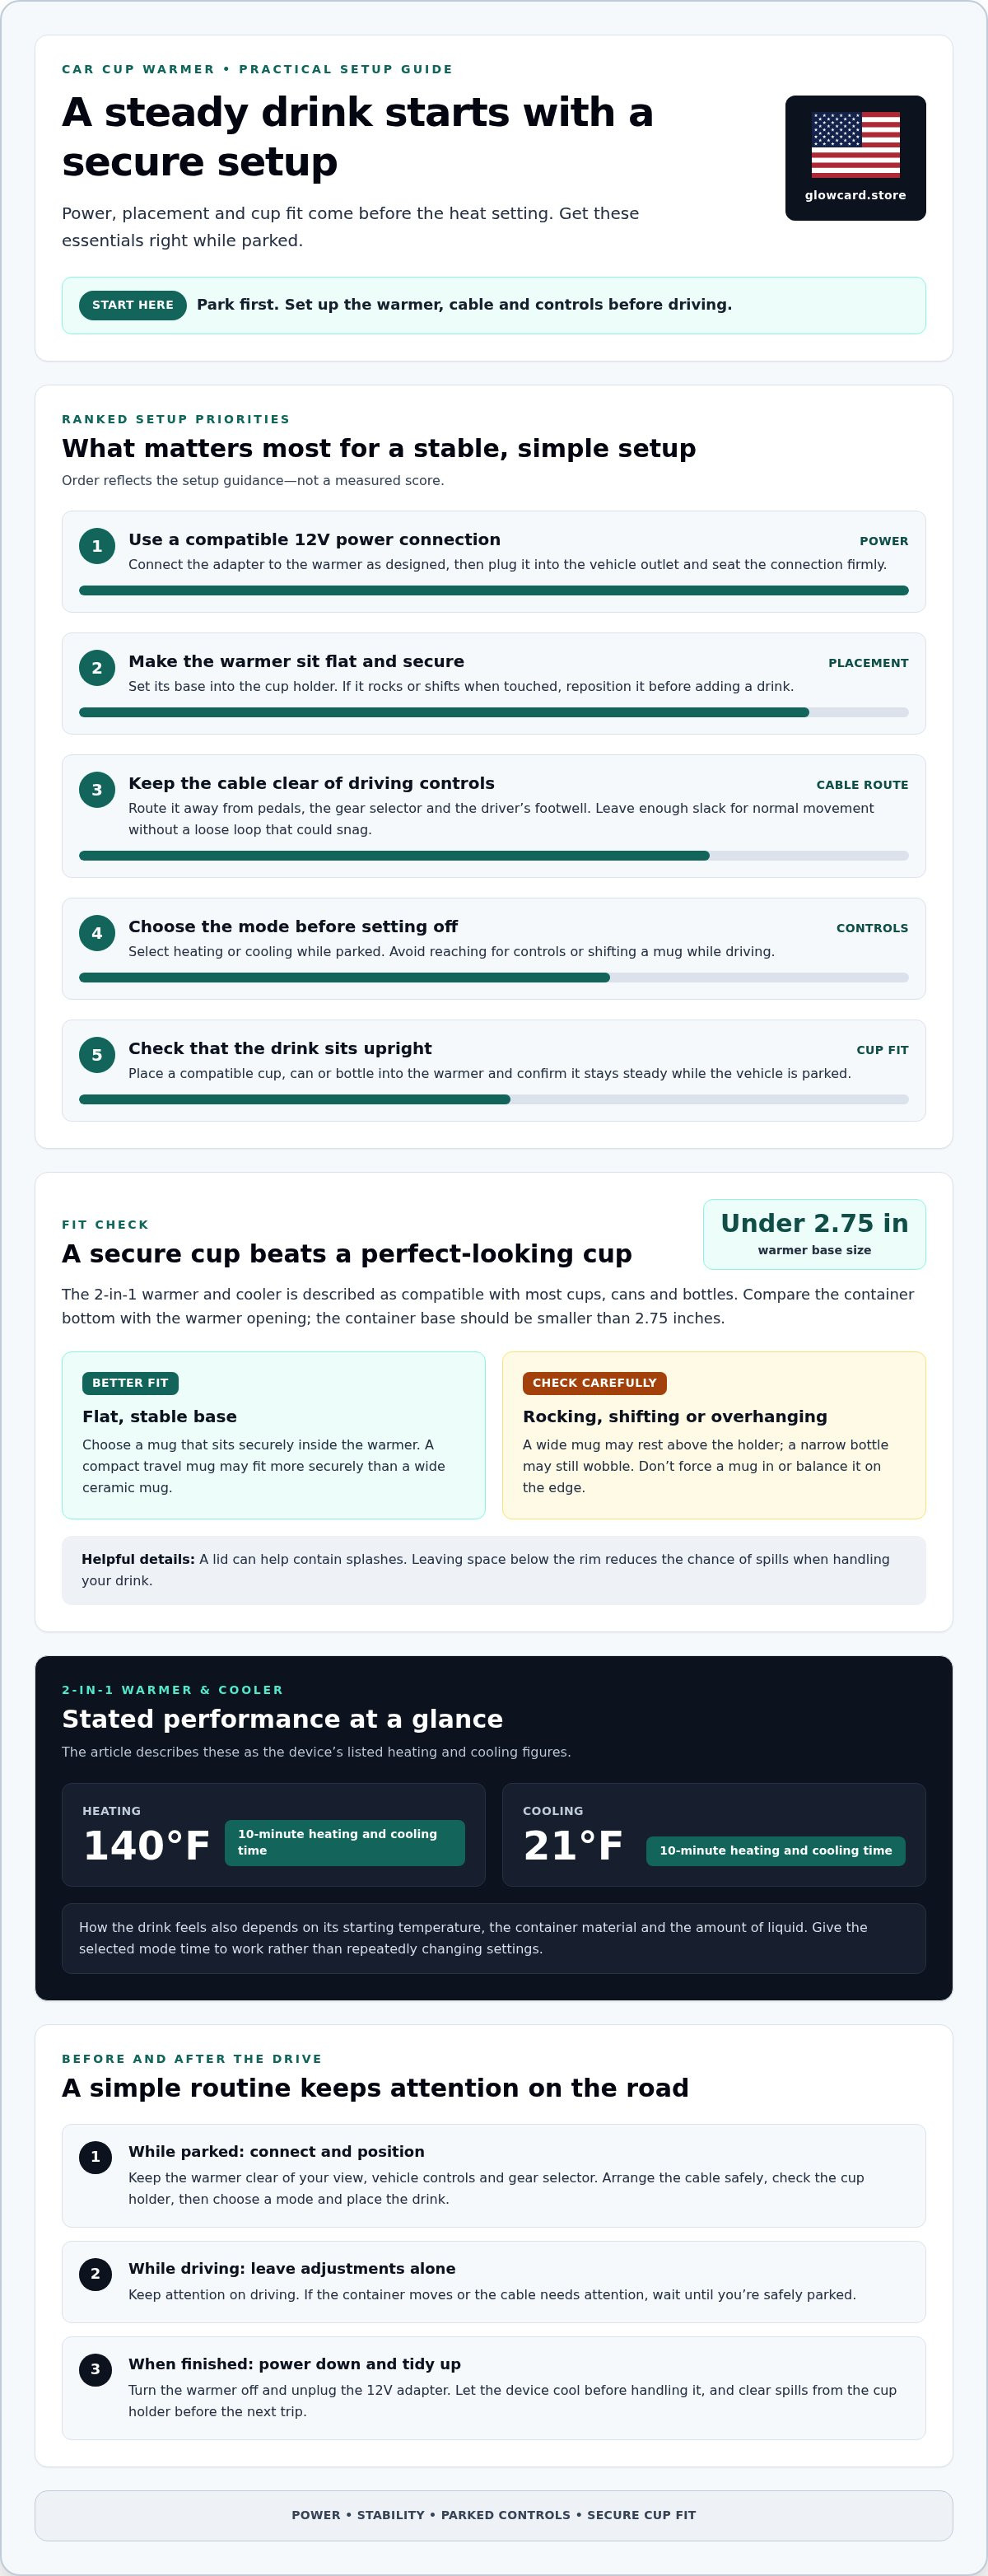
Learning how to use a car cup warmer starts with its power connection and a stable fit. Connect the device to a compatible 12V vehicle power outlet, place it securely in the cup holder, and select a mode. Set it up while parked, before placing your drink inside. This gives you time to arrange the cable and controls without reaching around once you’re driving.
A 12V car adapter supplies power to a compatible warmer. The 2-in-1 Smart Car Cup Warmer/Cooler includes one 12V car power adapter. Connect the adapter to the warmer as its design requires, then plug it into the vehicle outlet. Route the cable away from pedals, the gear selector, and other controls. Keep enough slack for normal movement, but don’t leave a loose loop where it could snag.
- Park before setup. Put the vehicle in a secure position before connecting the adapter or adjusting settings. Place the warmer where it won’t block your view, cover controls, or crowd the gear selector.
- Connect the adapter. Insert the compatible 12V adapter into the vehicle power outlet. Seat the connection firmly, then arrange the cable along a clear route, away from the driver’s footwell.
- Check the cup holder. Set the warmer’s base into the holder and confirm it rests flat. If the warmer rocks or shifts when touched, reposition it before adding a drink.
- Choose a mode. Select heating or cooling before driving. The 2-in-1 warmer and cooler is described as having a 10-minute heating and cooling time, heating to 140°F and cooling to 21°F.
- Place the drink. Lower a compatible cup, can, or bottle into the warmer. Check that it sits upright and stays steady while the vehicle is parked.
Container fit depends on the shape and size of its base. The 2-in-1 warmer and cooler is described as compatible with most cups, cans, and bottles, and its base should be smaller than 2.75 inches. Compare the container bottom with the warmer opening before use. A wide mug may rest above the holder, while a narrow bottle may fit but still wobble. A stable fit is the deciding factor.
Choose a mug with a flat bottom that sits securely inside the warmer. For example, a compact travel mug may fit more securely than a wide ceramic mug. A lid can help contain splashes, and leaving space below the rim reduces the chance of spills when handling your drink. Test the fit while parked; don’t force a mug into the warmer or balance it on the edge.
Use the controls before setting off. Choose heat for a drink you want warmed, or cooling for one you want chilled. The device’s listed 140°F heating and 21°F cooling figures describe its stated performance. The drink’s starting temperature, container material, and amount of liquid influence how it feels. Give the selected mode time to work rather than repeatedly changing settings.
Knowing how to use a car cup warmer also means planning for simple adjustments. Keep your attention on driving instead of changing modes or shifting a mug. If the container moves or the cable needs attention, wait until you’re safely parked. When finished, turn the warmer off and unplug the 12V adapter. Let the device cool before handling it, and clear any spills from the cup holder before the next trip.
Glocard: 1080° Rotatable Faucet Extender - Splash-Free Kitchen & Bathroom Upgrade
Glocard’s 1080° Rotatable Faucet Extender - Splash-Free Kitchen & Bathroom Upgrade brings a practical upgrade to kitchen and bathroom sink routines. After learning how to use car cup warmer models for travel, this faucet extender offers a separate way to refresh your home space. Its 1080° rotating design lets you reposition the faucet extension for different sink tasks, while its splash-free design focuses on a tidier wash area.
For the road, Glocard also offers the 2-in-1 Smart Car Cup Warmer/Cooler, which combines warming and cooling in one car accessory. Choose the product that suits the routine you want to improve, whether that’s drinks on the drive or everyday sink use. Visit glocard.store to explore Glocard’s offerings.
Make Everyday Routines Feel More Considered
Knowing how to use a car cup warmer can help make your next drive feel more comfortable, while thoughtful upgrades can bring the same practical mindset into other parts of daily life. Choose the details that fit your routine, whether that means the 2-in-1 Smart Car Cup Warmer/Cooler for the road, the 1080° Rotatable Faucet Extender - Splash-Free Kitchen & Bathroom Upgrade at home, or the 2023 Men's Plus Size Fleece Zip Mock Neck Sweater for everyday wear.
Small, practical choices can make familiar routines feel smoother. Explore the options at your own pace and decide what would be most helpful for your day-to-day life.
Contact Glocard for help finding a suitable next step. A little everyday convenience can go a long way.


